Hello lovelies! :)
Yay! June is here and that means it's the start of Summer and i don't like it at all! Weather here is so freakin' hot and so humid :(
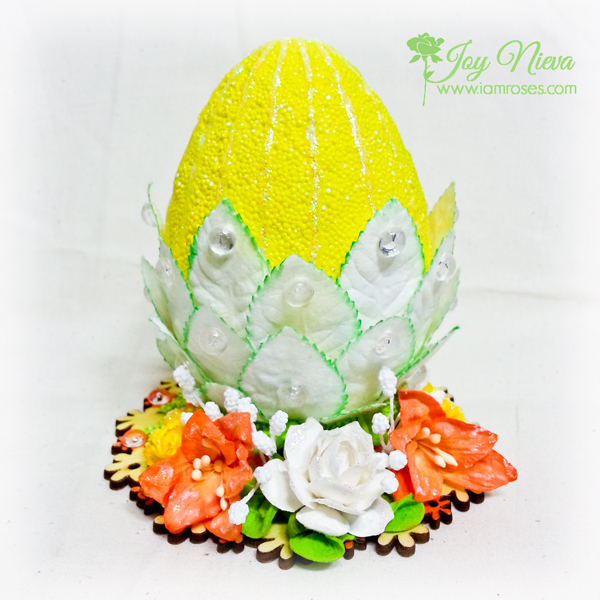
Anyways, since it's a brand new month...IAmRoses is hosting another challenge, are you ready?? But first, let me share with you my project for the said challenge. I decoupage this MDF frame and used a fleur-de-lis trim around the heart and added flat back pearls in between then created a cluster of assorted IAmRoses flowers. I hope you like it and now hop on to the I Am Roses Challenge Blog to see the rest of the Design Team's artworks and how to join in this month's challenge.

List of IAmRoses products used on this project:
LY1- 426 - Pastel Blue Lily
D1-48 - Orange gold Daisy
T30 - Semi-open Rose Buds
R22-15 - White Flower
Thanks so much for stopping by...Hugs!